
Navigation: Rate & Pay → Process Invoices/Memos
Click here for information on how to use a data entry window.
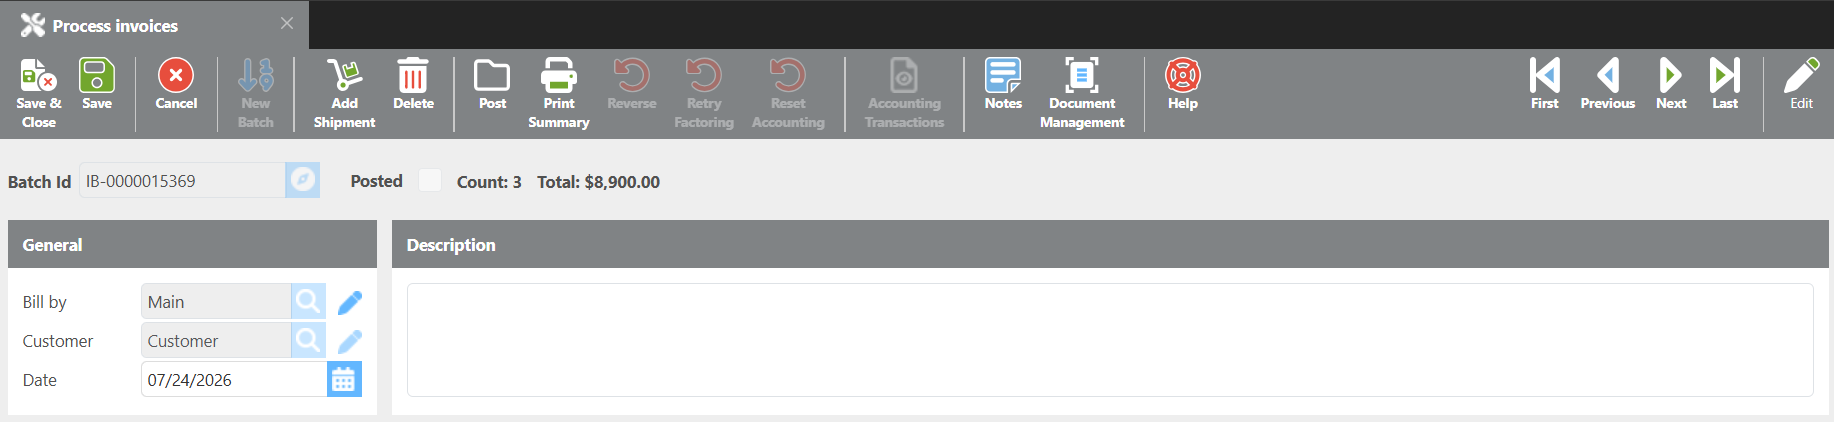
Process Invoices is used to create and send batches of invoices through the system.
Note: A batch can be reversed as long as it has not already been transferred to your accounting system.
|
Field |
Description |
|
Batch Id |
Automatically generated by the system when a new batch is created. You can type an existing Batch ID into this field to open a previously created batch. |
|
Posted |
Checked if this batch has been posted. |
|
Bill By |
Select the company to bill from. Defaults to the company set on the Rate & Pay Setup Options page. |
|
Customer |
Select a specific customer ID to limit the batch to invoices for that customer only. |
|
Date |
The date entered here will appear on the invoice as the Invoice Date. |
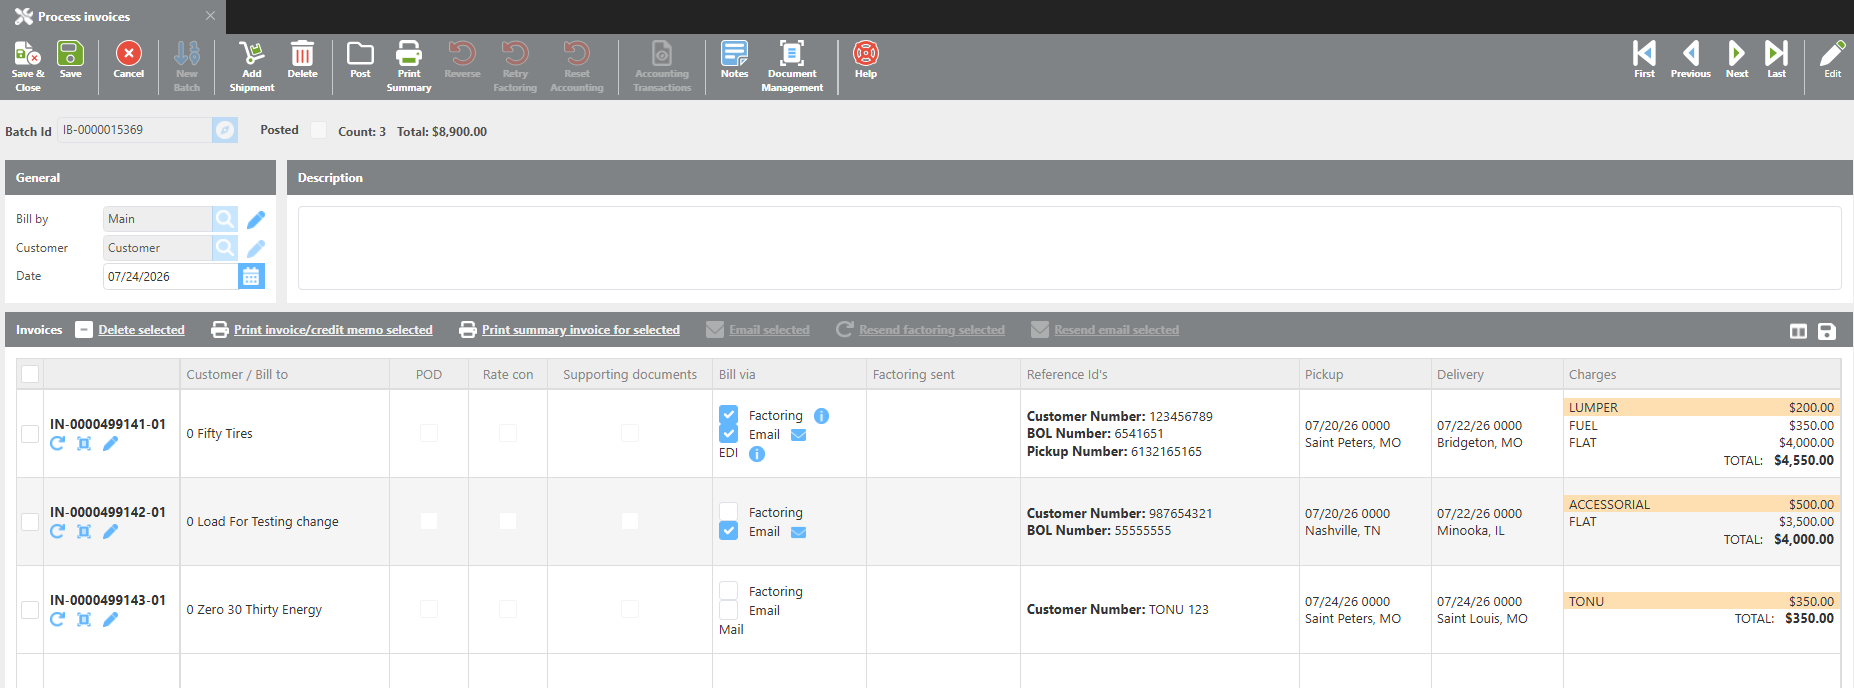
Creating a New Invoice Batch
-
Click New Batch, then save to generate a new batch number.
-
Click Add Shipment to view a list of all completed shipments that are ready to invoice. Select the shipments you want to add to this batch.
-
When selecting shipments, confirm that the POD box is checked to verify Proof of Delivery has been received. Use the pencil icon next to a shipment number to make any edits before adding it to the batch.
-
Use the Shipment, Customer, and Driver filter fields above the shipment list to narrow down the results before adding them to the batch.
-
Once shipments are in the batch, check the boxes next to any invoices you need to print and mail manually.
-
When the batch is ready, click Post to send the invoices and mark the batch as posted.
Tip: Keep invoice batches small — generally under 20 shipments per batch. Invoice batches are limited to a maximum of 50 invoices.
Processing Invoices Video
Setting Up Emailed Invoices Video