
To access: System → Maintain Email Accounts
Click here for information on how to use a data entry window.

|
Field |
Description |
|
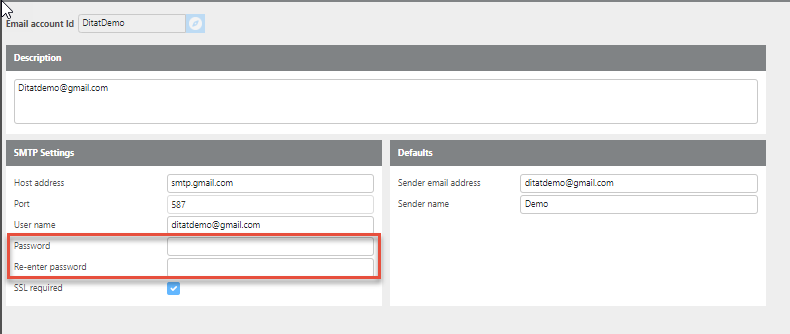
Email Account Id |
A unique name for the email account. Click here for information on how to use the Record ID field. |
|
Description |
A brief description of the account. |
|
Host Address |
The SMTP address of the email hosting provider. |
|
Port |
The port number used by the email account. |
|
User name |
The login username for the email account. |
|
Password |
The login password for the email account. |
|
SSL required |
Check this box if the email account requires an SSL connection. |
|
Sender Email Address |
The email address that outgoing emails will be sent from. This is usually the same as the username. |
|
Sender name |
The name that will appear as the sender on outgoing emails. |
|
Send Test |
A Send Test button is available on the toolbar to send a test email from Ditat. Clicking it will prompt you to enter a recipient email address. |
SMTP Info for common email accounts
|
Email account |
Host address |
Port |
Requires SSL |
|
GMAIL |
587 |
YES |
|
|
Yahoo |
465, 587, or 997 |
YES |
|
|
Office 365 |
587 |
YES |
|
|
AOL |
25 |
NO |
|
|
Dreamhost |
25 |
YES |
|
|
Hotmail |
587 |
YES |
|
|
Outlook through GoDaddy |
25 |
NO |
|
|
ZOHO |
587 |
YES |
Provider-Specific Setup
Gmail
Gmail accounts require 2-Step Verification and an App Password to work with Ditat.
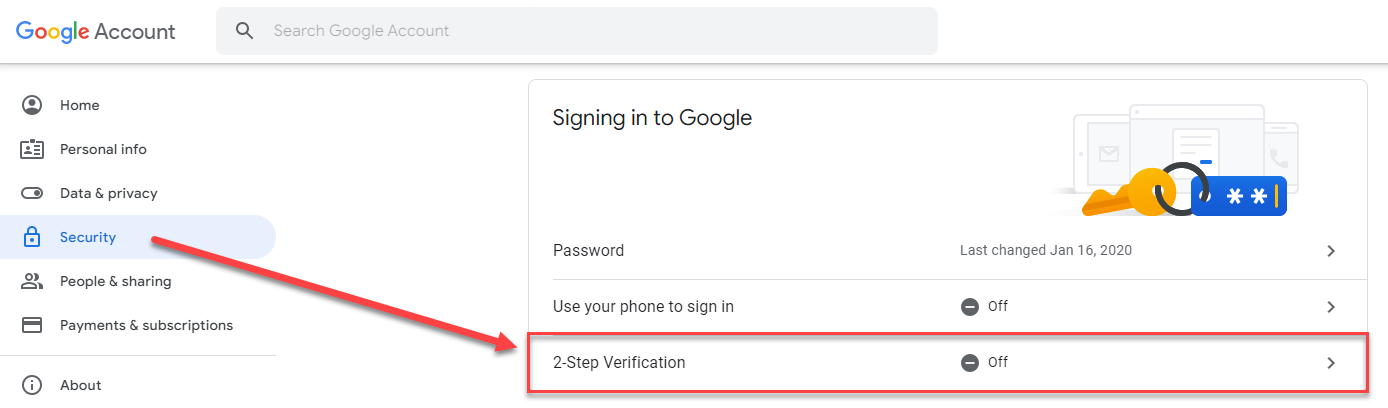
Step 1 – Enable 2-Step Verification:
-
Go to your Google Account settings and navigate to Security → Sign in to Google → 2-Step Verification.
-
Turn 2-Step Verification On.
Step 2 – Create an App Password for Ditat:
Once 2-Step Verification is enabled, navigate to the App Passwords section in your Google Account security settings.
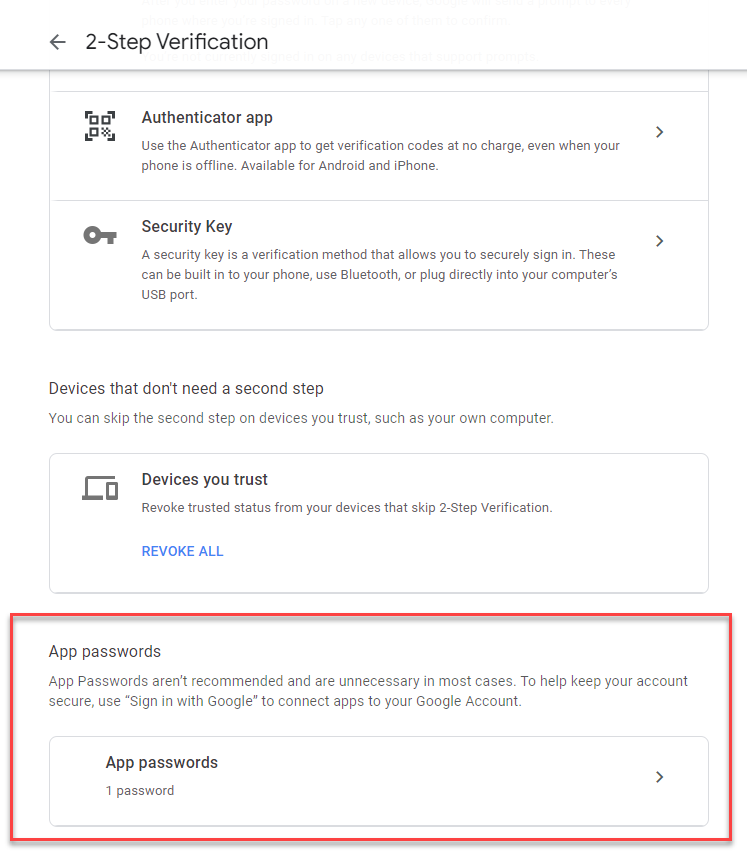
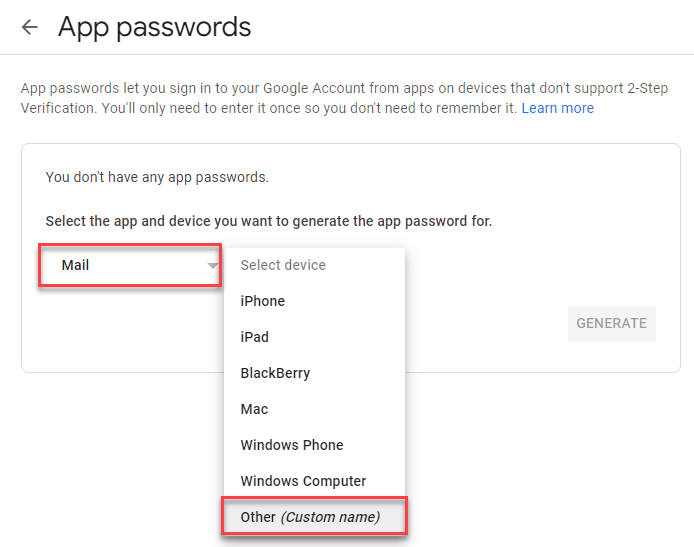
Create a new app password and name it Ditat.

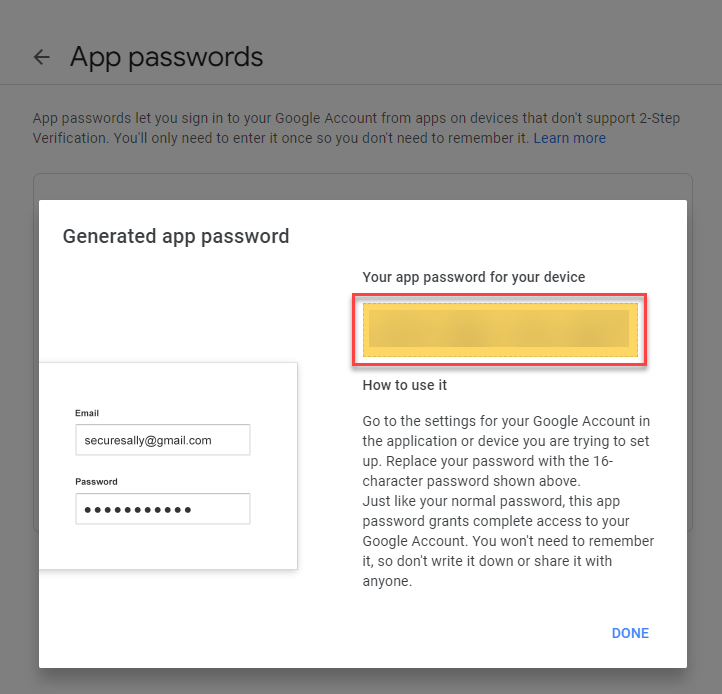
Copy the generated password and enter it in the Password field in your Ditat TMS email account setup.
Business Gmail Accounts
For business Gmail accounts, you may need to manage access to less secure apps through the Google Admin console:
-
Sign in to your Google Admin console using an administrator account.
-
From the Home page, go to Security → Less Secure Apps.
-
To apply the setting to all users, leave the top organizational unit selected. Otherwise, select a specific child organizational unit or configuration group.
-
Choose one of the following settings:
-
Disable access to less secure apps (Recommended) – Users cannot enable access to less secure apps. Any open connections from less secure apps will time out when they attempt to refresh.
-
Allow users to manage their own access – Users can individually enable or disable access to less secure apps.
-
-
Click Save.
Once complete, you can enable "Allow Less Secure Apps" on any individual accounts you wish to use for sending emails from Ditat.
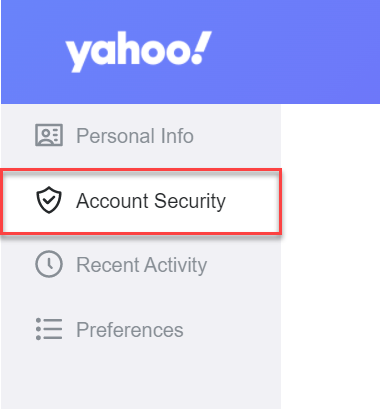
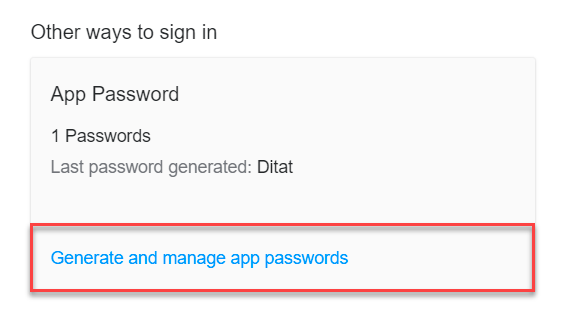
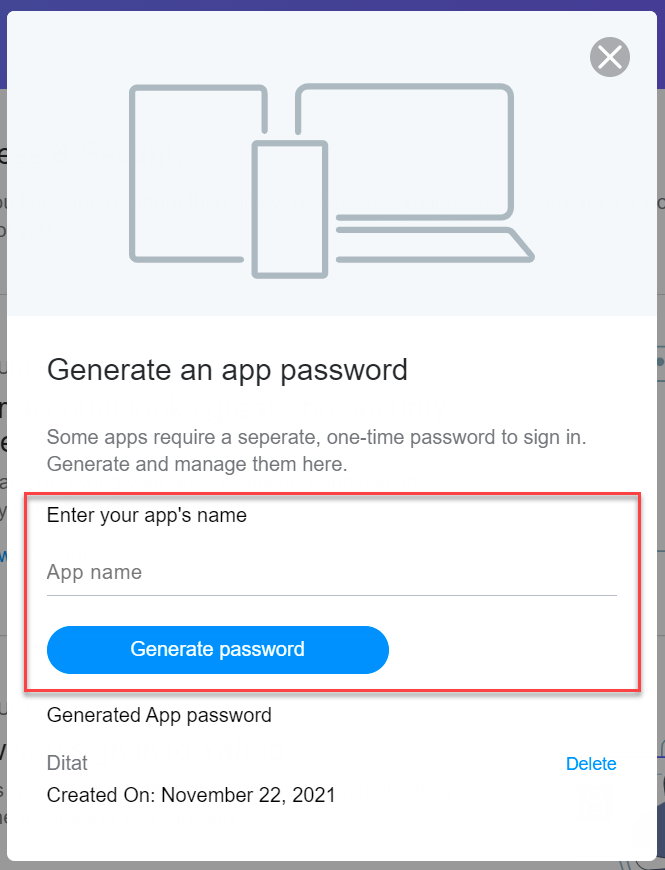
Yahoo Setup
Yahoo accounts may require a temporary third-party app password to be created for use with Ditat.
Common error: Error sending email: Transaction failed. The server response was: 6.6.0 Error sending message for delivery.
This error typically occurs when Yahoo flags outgoing emails as spam. Increasing the retry count should resolve the issue, as emails will send successfully upon retry.
Office 365 Setup
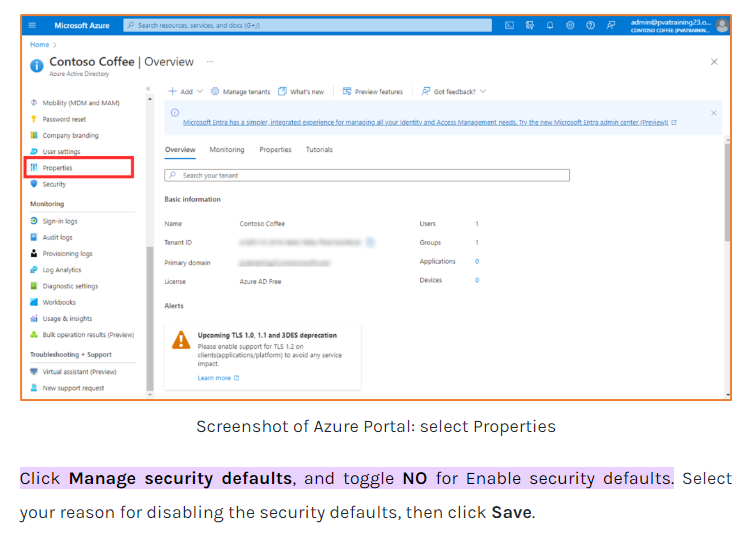
Office 365 accounts may require Multi-Factor Authentication (MFA) to be disabled to allow Ditat to connect.
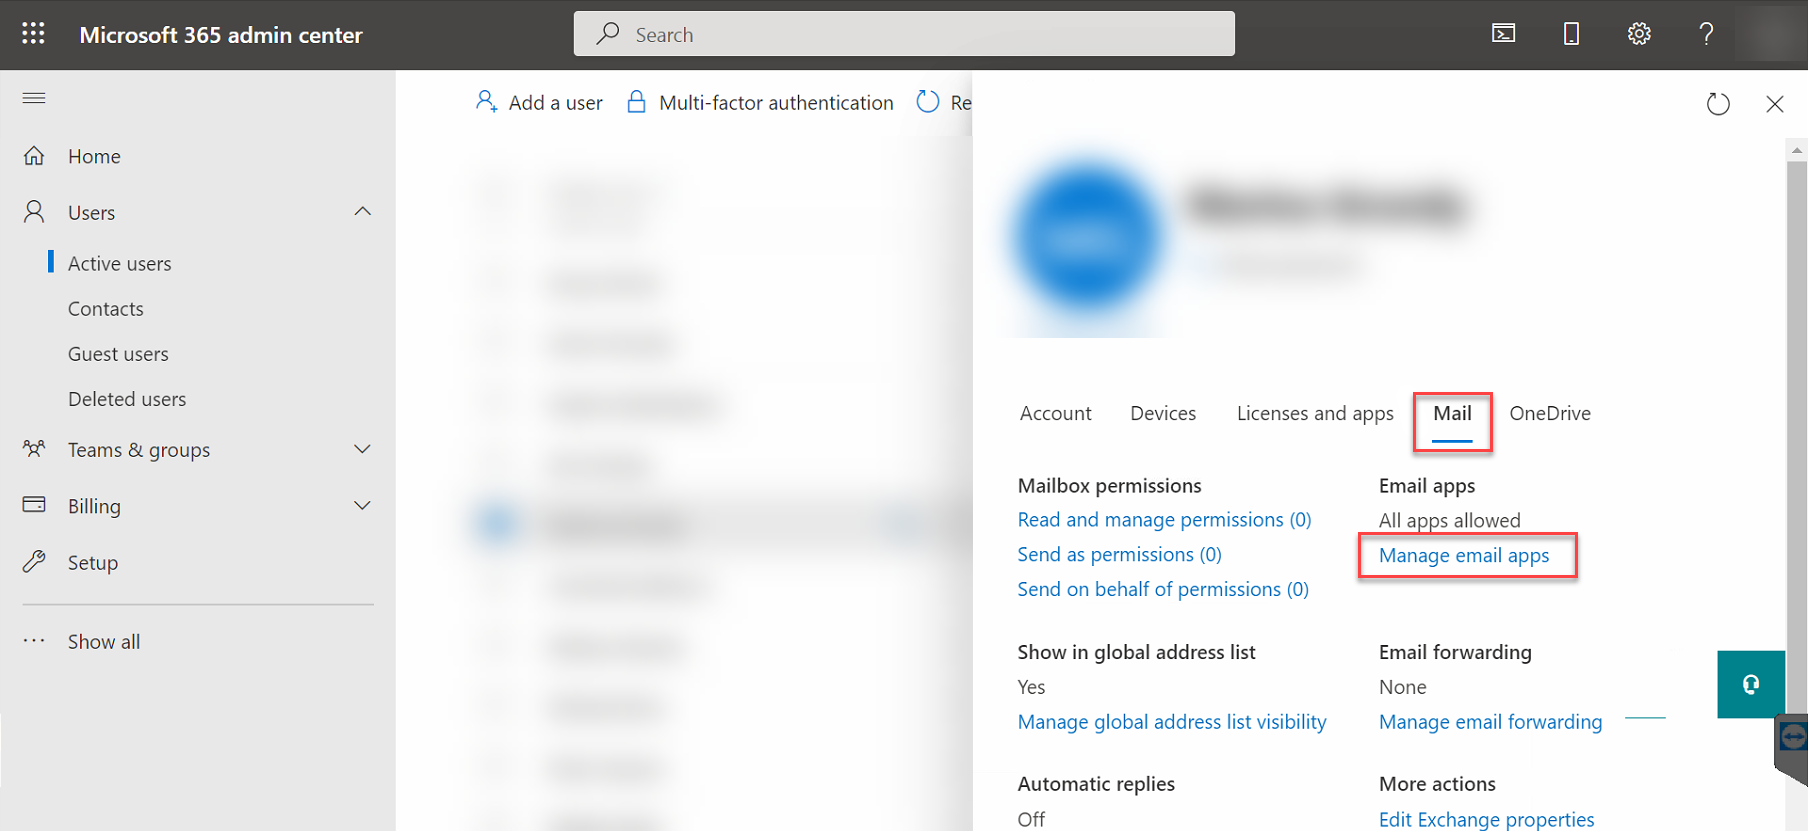
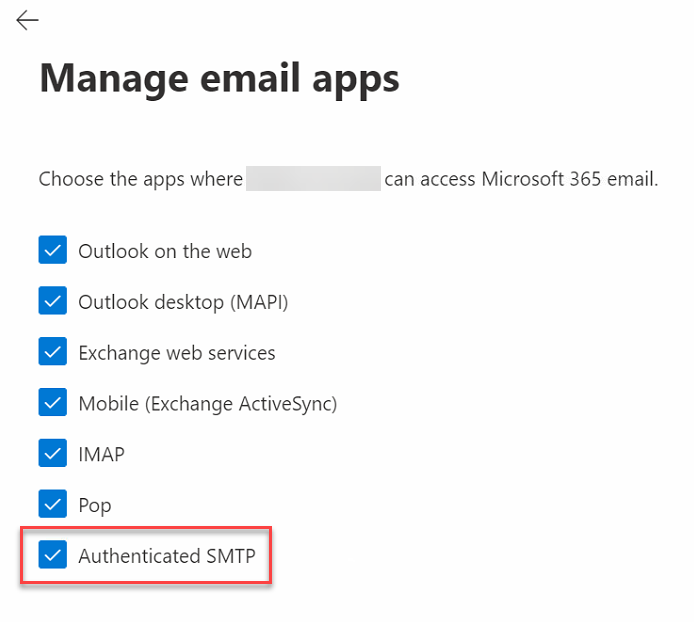
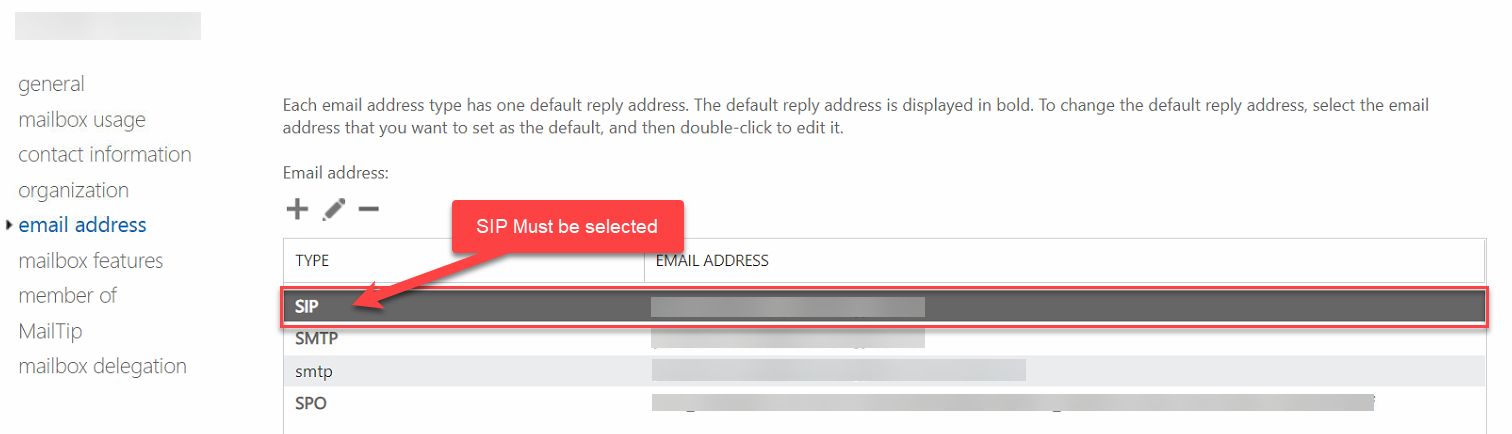
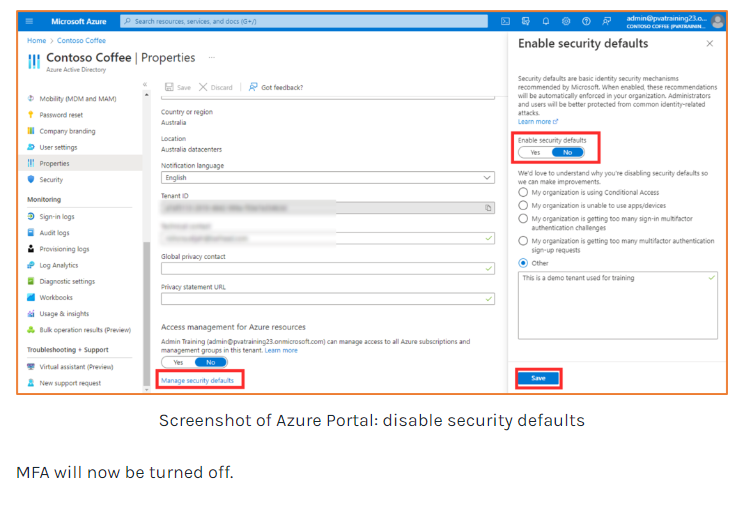
Disabling Multi-Factor Authentication on Office 365

GoDaddy
If a GoDaddy email account is returning email sending limit errors, this is likely caused by batch size. GoDaddy may flag large email batches as spam. It is recommended to keep email batches to 25–30 records or fewer.