
Navigation: Rate & Pay → Customers
Quick Access: Click Customers on the quick-access toolbar
Click here for information on how to use a data entry window.
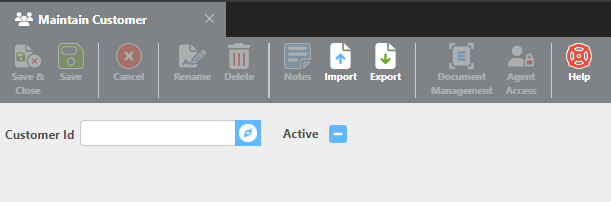
Customer IDs can be up to 25 characters and must be unique within the system. If you enter an ID that already exists, that customer record will be loaded for editing. Otherwise, a new customer record will be created.
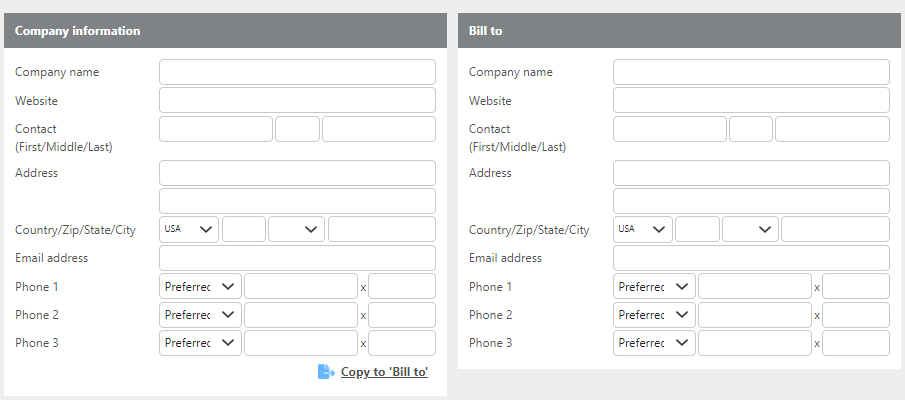
Company Information/Bill To
|
Field |
Description |
|---|---|
|
Company Name |
Enter the company's name. |
|
Website |
Must be entered in the format: |
|
Contact (First/Middle/Last) |
Enter the primary contact name. |
|
Address |
Enter the company's street address. |
|
Country/Zip/State/City |
Enter the zip code to auto-fill the remaining fields. |
|
Phone 1 |
Enter the company's phone number. |
|
Copy to Bill To |
Click this if the billing information is the same as the company information. |
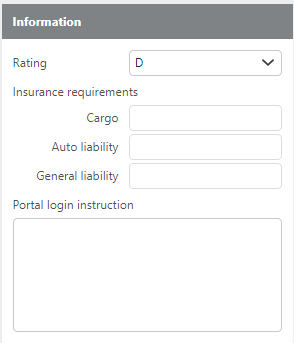
Information
Information
|
Field |
Description |
|---|---|
|
Rating |
Select the customer rating for this customer. |
|
Cargo |
Enter the cargo insurance amount required by this customer. |
|
Auto Liability |
Enter the auto liability insurance amount required by this customer. |
|
General Liability |
Enter the general liability insurance amount required by this customer. |
|
Portal Login Instructions |
Enter any login instructions needed for this customer's portal. |
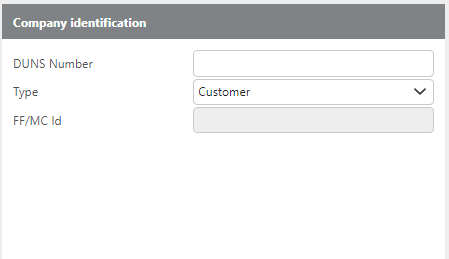
Company Identification
|
Field |
Description |
|---|---|
|
DUNS Number |
Enter the company's Data Universal Numbering System number. |
|
Type |
Select the type of customer. |
|
FF/MC ID |
Enter the company's Motor Carrier Identification number or Freight Forwarder number. |
Accounting
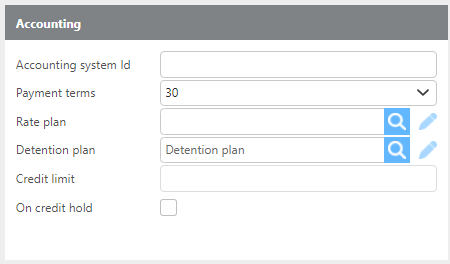
Note: Accounting permissions can be configured to control which user groups are allowed to edit credit limits and credit hold status, separate from general customer editing permissions.
|
Field |
Description |
|
Accounting system Id |
The ID used for integration with your accounting system. By default, this must start with a "C" unless changed in the Rate and Pay settings. |
|
Payment terms |
Select the payment terms for this customer. This data will not transfer to accounting software with the integration. |
|
Rate plan |
Select a rate plan for this customer if you have predefined lanes. |
|
Credit limit |
Enter the credit limit for this customer. |
|
On credit hold |
Check this box to place the customer on credit hold. New shipments cannot be saved for customers on credit hold. |
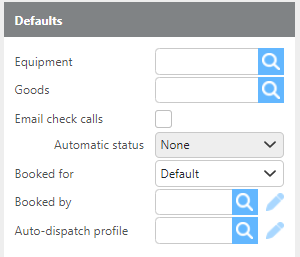
Defaults
|
Field |
Description |
|---|---|
|
Equipment |
Select the default equipment type for new shipments created for this customer. |
|
Goods |
Select the default goods for new shipments created for this customer. |
|
Booked For |
Select whether this customer's shipments should default to Company Assets, Brokerage, or Default. If set to Default, the system will use the setting from Dispatch Setup Options. |
|
Email Check Calls |
Check this box to email check calls to this customer. This feature must be enabled on your account — contact support@ditat.com for more information. Check calls will be emailed to any additional contacts set to the Check Call type, as well as the contact on the shipment. |
|
Booked By |
Select the default user who books loads for this customer. |
|
Auto-Dispatch Profile |
Select the auto-dispatch profile to use for this customer. When Default, Driver, and Customer profiles are all active, Ditat will follow the most restrictive option. |
Additional Contacts

Click Add to enter additional contacts for this customer. A window will open to enter the contact details.
Additional contacts are assigned a type that determines how they are used:
-
Accounting — Contacts of this type will be emailed invoices when the billing type is set to bill via email.
-
Dispatch — Contacts of this type will be used as the shipment contact.
-
Check Calls — Contacts of this type will be emailed check calls once they are entered in the system.
-
Detention — If detention notifications are enabled, notification emails will only be sent to contacts of this type.
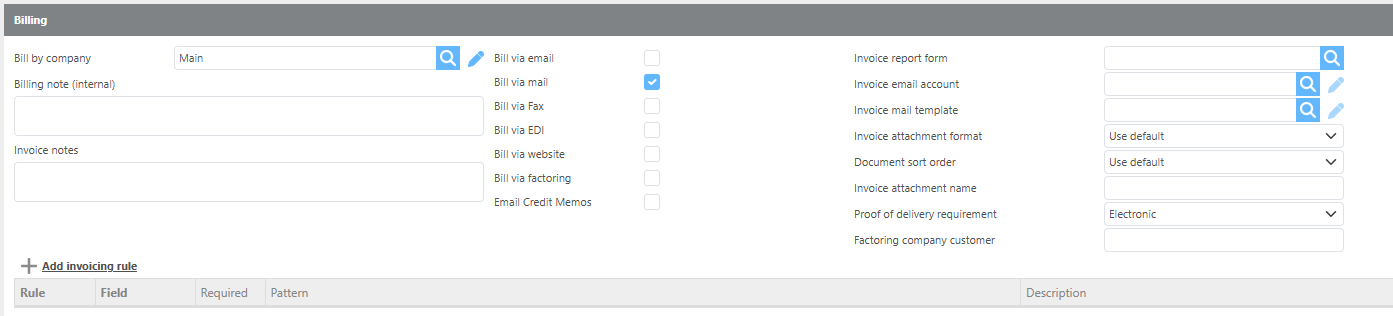
Billing
The Billing section is used to configure customer-specific billing preferences. Use this section if the customer requires a unique invoice format, a different sending email account, or custom attachment settings that differ from your account defaults.
Invoice Attachment Naming Options:
-
{InvoiceId}— Names the attachment using the full invoice ID as it appears in the TMS. -
{InvoiceIdNoDash}— Names the attachment using the invoice ID without the dash. -
{InvoiceShort}— Names the attachment without the leading "IN" and leading zeros. -
If left blank, the system will use the default setting from Rate & Pay Setup Options.
|
Field |
Description |
|
Bill by company |
Select which of your companies will bill this customer. Defaults to the primary company set in System Setup Options. |
|
Billing notes |
Internal notes that will appear on all loads created for this customer. Useful for capturing special billing requirements. |
|
Invoice notes |
Notes that will appear at the bottom of the invoice for this customer. |
|
Bill via email |
Check to bill this customer via email. |
|
Bill via mail |
Check to bill this customer via mail. |
|
Bill via fax |
Check to bill this customer via fax. |
|
Bill via EDI |
Check to bill this customer via EDI. |
|
Bill via website |
Check to bill this customer via a website. |
|
Bill via factoring |
Check to bill this customer via factoring. If using an integrated factoring company, select them from the drop-down next to this field. |
|
Email Credit Memos |
Check this to email credit memos upon invoice batch posting. |
|
Invoice report form |
Select a custom invoice report form for this customer. If blank, the system uses the default set in Rate & Pay System Options. |
|
Invoice email account |
Select a different email account to send invoices from for this customer. If blank, the system uses the default set in Rate & Pay System Options. |
|
Invoice mail template |
Select a custom email template for this customer's invoices. If blank, the system uses the default set in Rate & Pay System Options. |
|
Invoice attachments format |
Select a custom attachment format for this customer's invoices. If blank, the system uses the default set in Rate & Pay System Options. |
|
Document sort order |
Select a custom document sort order for this customer. If blank, the system uses the default set in Rate & Pay System Options. |
|
Invoice attachment name |
Enter the naming convention tag to use for invoice email attachments. |
|
Proof of delivery requirement |
Select the proof of delivery requirement for this customer. |
|
Factoring company customer |
If integrating with a factoring company and this customer has a specific factoring name, enter it here. |
|
Invoicing rules |
Add rules that will be checked during the invoicing process. |
Invoicing Rules
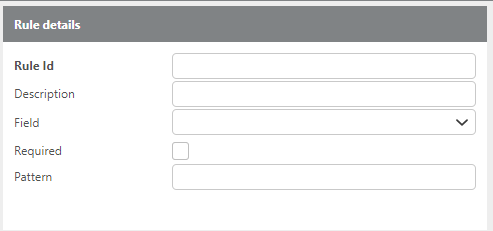
Invoicing rules can be used when a customer requires specific information on invoices, such as a particular PO number format or mandatory weight fields. To add a rule, click Add Invoicing Rule and complete the Rule Details prompt. Previously created rules will be listed below.
Pattern syntax for rules:
|
Symbol |
Meaning |
|---|---|
|
|
Any number |
|
|
Any letter |
|
|
Anything |

Examples:
-
8-digit number starting with 2:
2####### -
8-digit starting with any letter:
_####### -
8-digit starting with "M":
M####### -
Anything ending with "M":
%M -
Anything ending with a number:
%#
Groups

Select any custom groups this customer should belong to.
For details on Custom Groups, click here.
Customer Portal Users

Add any customer portal users here.
Click here for more information on setting up customer portal access.